Blog about Warhammer, Warhammer 40k and other Specialist Games where you will find painting techniques, photo galleries, battle reports and tactics for different armies!
lundi 30 novembre 2015
vendredi 27 novembre 2015
Dreadnought Salamanders terminé / Finished Salamanders Dreadought
Salut tout le monde, voici des photos de mon dreadought enfin terminé! Après le Land Raider, l'armée de Salamanders grossit indéniablement et commence à ressembler à quelque chose! Pour l'instant, on met tout dans des mousses et des boîtes en attendant le départ pour Londres et le grand transfert de mes armées outre-manche.
Je pense m'attaquer désormais à ma sentinelle et à ma chimère de Catachan, voire mon Predator. Continuons sur les véhicules tant qu'on y est.
Hi everyone, here are pictures of my dreadnought, finally finished! After the Land Raider, the Salamanders army definitely grows and starts to look awesome! For now, we put everything in foams and boxes until the departure for London and the big transfer of my armies across the Channel.
I think that now, I'll start painting my sentinelle and my chimera for my Catachan army or my Predator. Let's continue with vehicles as long as we're up to it.
vendredi 20 novembre 2015
Travaux en cours / Work in progress
En attendant les jolies photos de mon Land Raider sous tous les angles, voici des images de mon dernier projet : un dreadnought pour mon armée de Salamanders. Comme pour mes autres space marines, j'avais décidé de tout repeindre, car avant ça ressemblait à ça...
Commençons tout d'abord par les petits effets que j'ai voulu donner :
While waiting for pretty photos of my Land Raider from all angles, here are pictures of my latest project: a dreadnought for my Salamanders army. As for my other Space Marines, I decided to repaint everything, because before it looked like this ...
Let's start with the small effects that I wanted to give:
Une jambière avec des flammes, en mode bien bling bling / tuning : un dégradé rouge/orange/jaune à l'aéro, masquage avec les produits de HD Stencil et une couche de noir!
A leg pad with flames, for a good "bling bling" / tuning effect: a red/orange/yellow gradient with the airbrush, masking with HD Stencil products and a layer of black!
Le socle avec une flaque acide. Pour la réaliser, j'ai fait une belle tâche de colle à bois et j'ai laissé sécher. Ensuite, j'ai réalisé un dégradé de vert/jaune à l'aéro pour ensuite recouvrir d'une autre couche de colle, qui en séchant donne du volume et un effet brillant!
The base with an acid puddle. To achieve it, I did a beautiful stain of PVC glue and I let it dry. Then I realized a green/yellow gradient with the airbrush and then covered it with another layer of glue which, when dried gives volume and a shiny look!
Le corps du dreadnought, loin d'être terminé, il me reste encore toutes le finitions à réaliser, mais ça devrait désormais aller relativement vite!
The dreadnought body, far from being finished, I still have all the details to finish, but it should go relatively quickly now!
jeudi 29 octobre 2015
Des nouvelles / News
Bon ça fait un gros moment que je n'ai rien publié, et pour cause, j'ai eu pas mal de changements dans ma vie. Les vacances en Indonésie tout d'abord, suivi d'un week-end d'anthologie à Cardiff pour aller voir la France se faire battre par la Nouvelle-Zélande et un nouveau travail que je commencerai en février. Et c'est sûrement ça le plus gros chamboulement, car je vais travailler à la City de Londres, ce qui implique une réorganisation complète de notre vie, avec encore un point d'interrogation sur ce que je vais faire de mes figurines alors que je n'ai toujours pas trouvé, ni cherché d'appartement...
Well, it's been a while since I haven't published anything, and for a lot of good reasons since I had a lot of changes in my life. First, holidays in Indonesia, followed by an awesome weekend in Cardiff to see France beaten by New Zealand and a new job that I will begin in February. And it is surely the biggest upheaval since I will work in the City of London, which implies a complete reorganization of our lives, with even a question mark about what I'll do with my miniatures when I still have not found nor looked for a flat...
Autant dire qu'avec tout ça, je n'ai pas eu énormément de temps pour peindre... Petit lot de consolation tout de même car j'ai enfin terminé mon projet débuté avant les vacances : mon Land Raider.
Suffice to say that with all that, I have not had a lot of time to paint ... Small consolation prize anyway because I've finally finished my project started before the holidays: my Land Raider.
Je n'ai pour l'instant qu'une photo, d'autres suivront bien entendu, avec toutes les explications sur les méthodes utilisées pour arriver à ce résultat que je trouve ma foi, plutôt convaincant!
I only have one picture at the moment, others will follow of course, with all the explanations on the methods used to achieve this result I find rather convincing!
jeudi 17 septembre 2015
Leman Russ de Catachan / Catachan Leman Russ
Grande première, j'ai enfin peint ma première figurine pour mon armée de Catachan. Bon une grosse figurine quand même puisqu'il s'agit d'un Leman Russ couleur camouflage. C'était vraiment une expérience sympa car j'ai pu avoir recours à plein de techniques différentes et je suis très content du résultat. Je me suis aperçu sur les photos que j'avais oublié la couche de vernis mat sur la tourelle, donc il aura besoin d'une petite retouche pour ne pas voir les décalcomanies trop briller.
This is a first, I finally painted my first model for my Catachan army. Well, a big one since it is a Leman Russ in camo pattern. It was really a nice experience because I was able to use lots of different techniques and I am very happy with the result. I noticed in the pictures that I had forgotten the layer of matte varnish on the turret, so it will need a little adjustment to avoid seeing the decals shine too much.
Première étape : montage et magnétisation des armes de flanc et des canons : j'ai monté le Leman Russ en structure, en gardant la tourelle de côté et les chenilles sur la grappe. Pour pouvoir changer les armes, J'ai percé des trous et inséré des aimants sur chacun des canons et armes de flanc, ainsi qu'à l'intérieur de la tourelle et des receptacles sur les flancs et devant.
First step: assembly and magnetization of side weapons and cannons: I mounted the structure of the Leman Russ, keeping aside the turret and threads on the sprue. To change weapons, I drilled holes and inserted magnets on each of the cannons and side weapons, as well as inside the turret and the containers on the sides and front.
Pour peindre, c'est finalement assez simple :
- sous couche noire
- couche de base à l'aérographe en Tallard Sand et brossage à sec sur l'ensemble des arêtes en Karak Stone
- masquage à la plastiline pour réaliser le camouflage
- deuxième couche, cette fois en Castellan Green, suivie d'un brossage à sec de Green Forest
- vernis brillant sur l'ensemble
- application des décalcomanies
- passez sur l'ensemble une bonne couche de Mig Brown Wash
- laisser sécher environ 30 minutes et passer un coton/coton tige pour enlever le surplus sur les parties les plus visibles, en ne laissant l'encre séchée dans les recoins
- peindre les détails et parties métalliques, ainsi que les armes (montées séparemment)
-recouvrir ensuite l'ensemble de vernis mat
mercredi 16 septembre 2015
Scouts Salamanders / Salamanders scouts
Retour de deux semaines de vacances bien méritées et reposantes. Et premier article de mes travaux réalisés juste avant les vacances, avec notamment mon unité de scouts enfin terminée!
Back from two weeks of well-deserved and relaxing holidays. And first article of my work done just before the holidays, including my scouts unit finally painted!
mercredi 26 août 2015
Terminators Salamanders / Salamanders Terminators
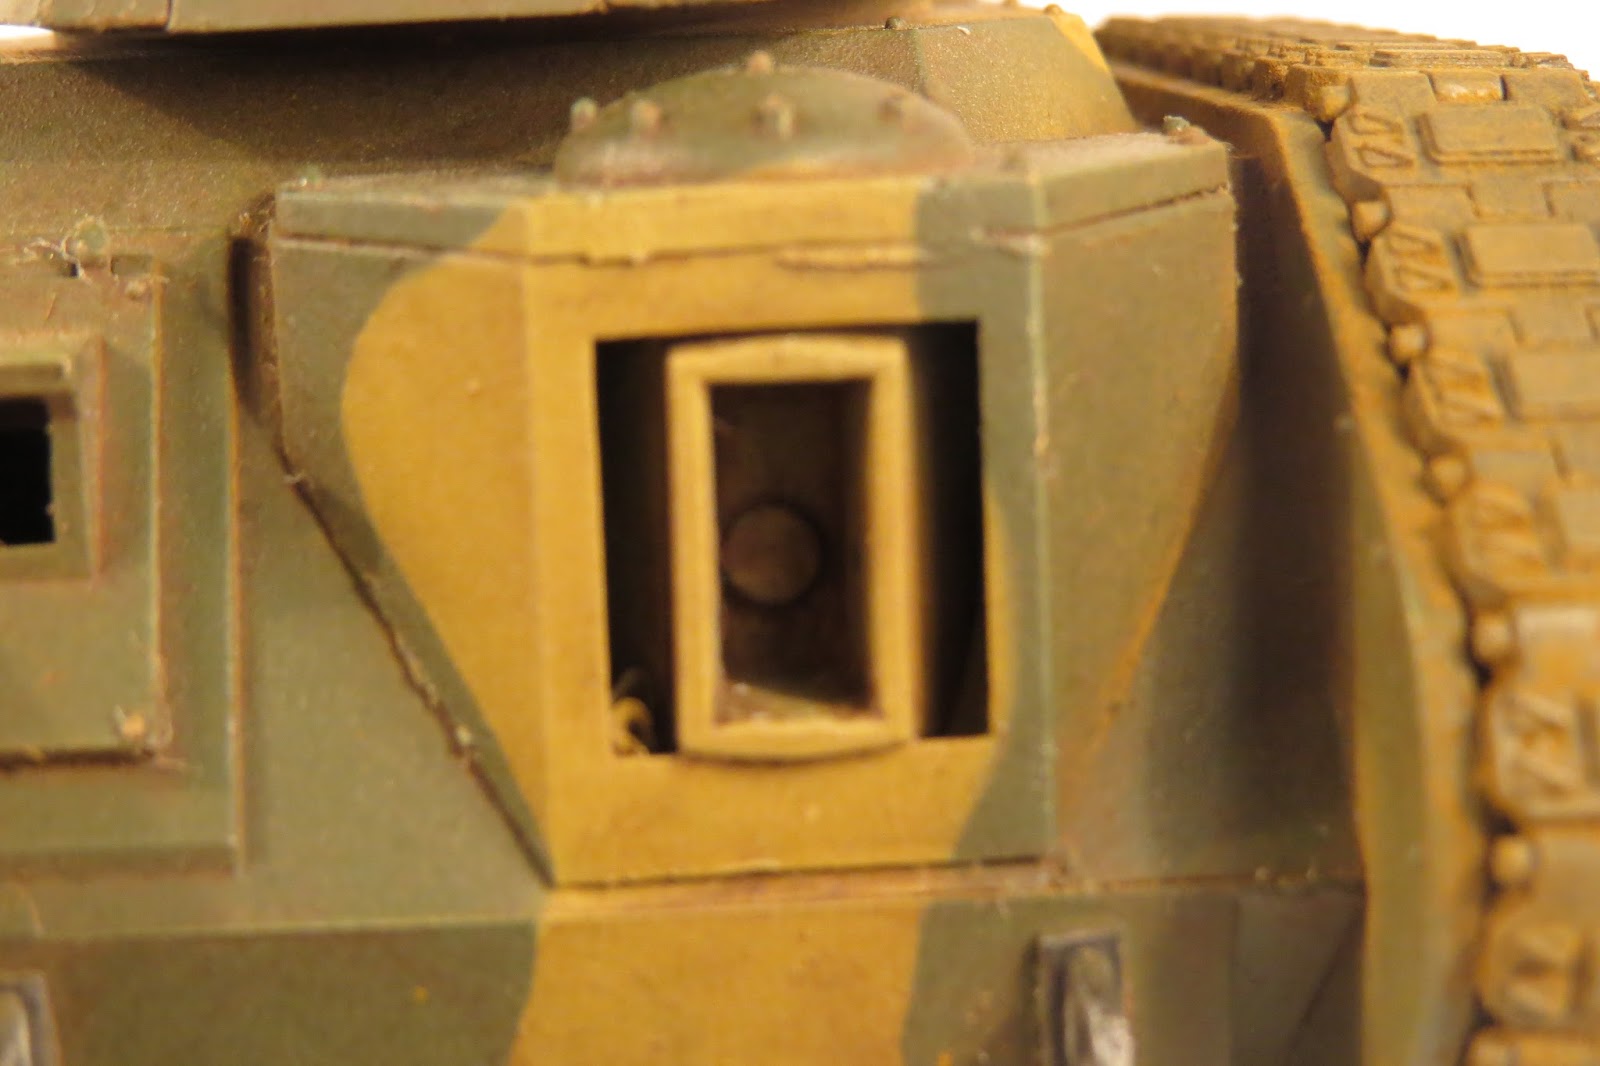
Allez, je poste quelques articles avant mes vacances qui seront vendredi! J'ai quand même pas mal avancé cet été, et profité de soirées tranquilles pour manier l'aérographe. Je commence à avoir une belle petite force de Salamanders peinte, avec notamment une unité de dix Terminators. Bon alors, ne vous attendez pas aux poses dynamiques et aux gros socles, car il s'agit de Terminators ancienne version. En fait, il s'agissait de deux unités de 5, mais j'ai transformé un sergent en Terminator avec poing tronçonneur, en limant la bannière qui était sur le dos. En parlant de bannière, je n'ai pas encore posé celle que j'avais prévu de mettre sur le sergent, donc le produit n'est pas totalement fini. Néanmoins, les voici :
Here we are, I'm posting a few articles before going on holidays on Friday! I was able to get a few things done this summer and benefited from the quiet evenings to handle the airbrush. I'm starting to have a nice little painted force of Salamanders, including a unit of ten Terminators. Well, do not expect dynamic poses and big bases, because they are a much older version of Terminators. Actually, they were two units of 5, but I turned a sergeant into a Terminator with chainfist, by removing the banner that was on his back. Speaking of which, I have not yet glued the one I had planned to put on the sergeant, so the product is not completely finished. Nonetheless, here they are:
Pour l'épée énergétique du sergent, j'ai eu recours à l'aérographe et au tutoriel de Buypainted concernant la peinture des armes énergétiques que vous trouverez ici. J'ai dû m'y reprendre à deux fois car je n'avais pas laissé sécher la peinture de la première moitié assez longtemps. Finalement, j'ai réussi à ma deuxième tentative. La technique est finalement assez simple, il suffit de ne pas trembler : - masquer une partie de l'épée avec du scotch de peintre
- faire un dégradé à l'aérographe en suivant cet ordre : blanc, bleu clair, bleu foncé
- laisser sécher 24 heures
- répéter l'opération sur l'autre partie de l'épée, mais à l'envers : si vous avez commencé par le bleu en bas et la pointe blanche, faites la base blanche et la pointe bleue
For the Sergeant's power sword, I used my airbrush and the tutorial from Buypainted about painting energy weapons that you can find here. I had to do it twice because I had not let the paint on the first half of the sword dry long enough. Finally I succeeded on my second attempt. The technique is actually quite simple, just do not shake :
- Hide a part of the sword with masking tape
- Make a gradient with the airbrush in the following order: white, light blue, dark blue
- Let it dry for 24 hours
- Repeat on the other side of the sword, but the other was around: if you started down with the blue and white tip, make the base white and tip blue
Le poing tronçonneur est un bitz du kit actuel des Terminators
The chainfist is a bitz from the current Terminator kit
Et pour finir : le lance-flammes, toujours utile
And finally: the flamethrower, always helpful
jeudi 6 août 2015
Décors pour Warhammer, 40k et Mordheim : Dave Graffam Models / Scenery for Warhammer, 40k and Mordheim : Dave Graffam Models
Je me prépare tranquillement à jouer une partie de Mordheim ce soir et tester à l'occasion mes comtes vampires qui constitueront ma bande de morts vivants. Pour se préparer et jouer sur une jolie table, nous avons investi dans des décors faciles à réaliser et qui rendent bien sans d'autre travail que du découpage et du collage. Nous avons découvert sur Internet le site de Dave Graffam (http://www.davesgames.net/) qui vend des décors à imprimer sur papier cartonné de type médiéval fantastique, voire futuriste qui feront de beaux décors pour Mordheim. En plus ça ne coût vraiment pas cher, donc pour 10€ et le papier qui me restait des faire-part de mon mariage, on a de quoi se créer une petite ville. Ayant quand même pas mal de boulot cet été, je n'ai eu l'occasion de ne monter qu'une seule maison, mais qui une fois montée, rend vraiment bien :
I am slowly getting ready to play a game of Mordheim tonight and test my Vampire Counts which will form my band of undead. To be prepared and play on a nice table, we invested in easy to make scenery that look great without too much work except cutting and pasting. We found on the internet Dave Graffam's website (http://www.davesgames.net/) that sells scenery printable on card stock for fantasy or futuristic games that will make beautiful scenery for Mordheim. In addition they are really cheap so for € 10 and the paper I had left from my wedding invitations, we have the material to create a small town. However, as I have a lot of work this summer, I only could build one house, but once built, looks awesome:
Inscription à :
Articles (Atom)