Affichage des articles dont le libellé est Modélisme. Afficher tous les articles

jeudi 24 novembre 2016

Undead Werewolves / Ghasts

Hello everyone. A small novelty today that will change from a world I know well. A little adventure towards a less familiar world, where shapes, colors, packaging are similar but not the same. I love Coca and I tasted Pepsi ... Well I have to tell you that I liked Pepsi .

I was trying to boost my vampire counts army with shock troops, preferably monstrous infantry that would complete my cannon fodder and cavalry. So I opted for Vargheists (renamed Ghasts in the ninth age). However, even if the GW Vargheists figurines are pretty cool, I wanted to change and try something else. By doing a little research on the web, I stumbled upon a werewolf unit from GW's main competitor, Mantic, who markets the miniatures for their Kings of War game. And I was not disappointed. Not only do the miniatures cost much less than those of GW, but in addition they come well-packaged in a box that resembles a VHS box. The figurines are molded in a hard enough resin which makes them solid and easy to work on. They require a little more work, including a bit of green stuff to fill in two or three holes, but the overall quality is very good.

And especially, once painted, they are very cool:


Undead Werewolves

Undead Werewolves

Undead Werewolves

Undead Werewolves

Undead Werewolves

Undead Werewolves

Undead Werewolves

jeudi 28 avril 2016

WIP : Catachan Rough Riders (motos/bikes)

Salut tout le monde,

Hello everyone,

J'ai encore oublie les dernières photos de mes Catachan que je devrais normalement au cours de ce long we de trois jours. Alors j'en profite pour poster un article sur un autre projet en cours que je peindrai après avoir terminé mon Land Speeder ainsi que le dernier Leman Russ. Pour la petite histoire, en flânant sur internet je suis tombe sur de magnifiques photos de Rough Riders pour les armées de la garde impériale. Bon normalement, les troupes ne sont pas top car il s'agit de cavaliers. Alors c'est vrai que face à un Land Raider du Chaos, je ne suis pas sûr que des pistoliers puissent faire grand-chose. Mais bon, pour les Catachan, c'est toujours un peu spécial... 

I forgot again the last pictures of my Catachan that I should normally take during this long three days weekend. So I take this opportunity to write an article about another ongoing project that I will paint after finishing my Land Speeder and the last Leman Russ. For the record, strolling on the internet I came across beautiful pictures of Rough Riders for the armies of the Imperial Guard. Well normally, the troops are not super strong because well... they're horsemen. Well it's true that facing a Land Raider Chaos, I'm not sure that pistoliers can do much. Still, for the Catachan it's always a bit special ...

Les conversions existantes pour ce genre de troupes incluent soit un guerrier de Catachan montant un dinosaure, en l'occurrence une figurine de sang-froid, ou bien une moto. Ayant un peu hésité et après cherche sur EBay et découvert qu'un sang-froid coute au bas mot 7€ pièce, je me suis plutôt orienté sur les motos space marines que j'ai trouvé à un bon prix.

Existing conversions for such troops include a Catachan warrior riding either a dinosaur, namely a cold one, or a motorcycle. Having hesitated a bit and after looking on eBay and found that cold ones costs at least €7 a piece, I instead opted for space marines bikes that I found at a good price.

Du coup, j'ai monté trois figurines: 
- Les motos sont des motos space marine normales
- Les jambes sont des jambes de motards scouts
- Les torses des torses de guerriers de Catachan, tout comme le bras, gauche ou droit, tenant une arme
- Le bras tenant la moto est un bras tenant une roquette dans les kits d'armes lourdes
- Bien sur le tout ne tient pas forcement bien, alors j'ai comble le tout avec du green stuff.

Voilà ce que ça donne: 

So, I built three minis:
- Motorcycles are normal space marine bikes
- The legs are legs from Scout bikers
- The torsos are from Catachan warriors, like the arm, left or right, holding a weapon
- The arm holding the bike is an arm holding a rocket in heavy weapons kit
- Of course everything does not necessarily hold good, so I filled everything with green stuff.

Here is the result:
Catachan biker

Catachan biker

Catachan biker

Catachan biker

Catachan biker

Catachan biker

Catachan biker

Catachan biker

Catachan biker

Catachan biker

Catachan biker

vendredi 18 mars 2016

Back in business!


Live from London, I started to work again yesterday night, trying to finish painting my Catachan Heavy Weapon Squad and preparing for airbrush the new Tactical Squad which will become a Deathwatch Unit. Like that, just for fun!


vendredi 20 novembre 2015

Travaux en cours / Work in progress

En attendant les jolies photos de mon Land Raider sous tous les angles, voici des images de mon dernier projet : un dreadnought pour mon armée de Salamanders. Comme pour mes autres space marines, j'avais décidé de tout repeindre, car avant ça ressemblait à ça...

Commençons tout d'abord par les petits effets que j'ai voulu donner :

While waiting for pretty photos of my Land Raider from all angles, here are pictures of my latest project: a dreadnought for my Salamanders army. As for my other Space Marines, I decided to repaint everything, because before it looked like this ...

Let's start with the small effects that I wanted to give:


Une jambière avec des flammes, en mode bien bling bling / tuning : un dégradé rouge/orange/jaune à l'aéro, masquage avec les produits de HD Stencil et une couche de noir!

A leg pad with flames, for a good "bling bling" / tuning effect: a red/orange/yellow gradient with the airbrush, masking with HD Stencil products and a layer of black!


Le socle avec une flaque acide. Pour la réaliser, j'ai fait une belle tâche de colle à bois et j'ai laissé sécher. Ensuite, j'ai réalisé un dégradé de vert/jaune à l'aéro pour ensuite recouvrir d'une autre couche de colle, qui en séchant donne du volume et un effet brillant!

The base with an acid puddle. To achieve it, I did a beautiful stain of PVC glue and I let it dry. Then I realized a green/yellow gradient with the airbrush and then covered it with another layer of glue which, when dried gives volume and a shiny look!


Le corps du dreadnought, loin d'être terminé, il me reste encore toutes le finitions à réaliser, mais ça devrait désormais aller relativement vite!

The dreadnought body, far from being finished, I still have all the details to finish, but it should go relatively quickly now!

jeudi 17 septembre 2015

Leman Russ de Catachan / Catachan Leman Russ

Grande première, j'ai enfin peint ma première figurine pour mon armée de Catachan. Bon une grosse figurine quand même puisqu'il s'agit d'un Leman Russ couleur camouflage. C'était vraiment une expérience sympa car j'ai pu avoir recours à plein de techniques différentes et je suis très content du résultat. Je me suis aperçu sur les photos que j'avais oublié la couche de vernis mat sur la tourelle, donc il aura besoin d'une petite retouche pour ne pas voir les décalcomanies trop briller.

This is a first, I finally painted my first model for my Catachan army. Well, a big one since it is a Leman Russ in camo pattern. It was really a nice experience because I was able to use lots of different techniques and I am very happy with the result. I noticed in the pictures that I had forgotten the layer of matte varnish on the turret, so it will need a little adjustment to avoid seeing the decals shine too much.


Première étape : montage et magnétisation des armes de flanc et des canons : j'ai monté le Leman Russ en structure, en gardant la tourelle de côté et les chenilles sur la grappe. Pour pouvoir changer les armes, J'ai percé des trous et inséré des aimants sur chacun des canons et armes de flanc, ainsi qu'à l'intérieur de la tourelle et des receptacles sur les flancs et devant.

First step: assembly and magnetization of side weapons and cannons: I mounted the structure of the Leman Russ, keeping aside the turret and threads on the sprue. To change weapons, I drilled holes and inserted magnets on each of the cannons and side weapons, as well as inside the turret and the containers on the sides and front.


Pour peindre, c'est finalement assez simple :
- sous couche noire
- couche de base à l'aérographe en Tallard Sand et brossage à sec sur l'ensemble des arêtes en Karak Stone
- masquage à la plastiline pour réaliser le camouflage
- deuxième couche, cette fois en Castellan Green, suivie d'un brossage à sec de Green Forest
- vernis brillant sur l'ensemble
- application des décalcomanies
- passez sur l'ensemble une bonne couche de Mig Brown Wash
- laisser sécher environ 30 minutes et passer un coton/coton tige pour enlever le surplus sur les parties les plus visibles, en ne laissant l'encre séchée dans les recoins
- peindre les détails et parties métalliques, ainsi que les armes (montées séparemment)
-recouvrir ensuite l'ensemble de vernis mat


jeudi 6 août 2015

Décors pour Warhammer, 40k et Mordheim : Dave Graffam Models / Scenery for Warhammer, 40k and Mordheim : Dave Graffam Models

Je me prépare tranquillement à jouer une partie de Mordheim ce soir et tester à l'occasion mes comtes vampires qui constitueront ma bande de morts vivants. Pour se préparer et jouer sur une jolie table, nous avons investi dans des décors faciles à réaliser et qui rendent bien sans d'autre travail que du découpage et du collage. Nous avons découvert sur Internet le site de Dave Graffam (http://www.davesgames.net/) qui vend des décors à imprimer sur papier cartonné de type médiéval fantastique, voire futuriste qui feront de beaux décors pour Mordheim. En plus ça ne coût vraiment pas cher, donc pour 10€ et le papier qui me restait des faire-part de mon mariage, on a de quoi se créer une petite ville. Ayant quand même pas mal de boulot cet été, je n'ai eu l'occasion de ne monter qu'une seule maison, mais qui une fois montée, rend vraiment bien : 


I am slowly getting ready to play a game of Mordheim tonight and test my Vampire Counts which will form my band of undead. To be prepared and play on a nice table, we invested in easy to make scenery that look great without too much work except cutting and pasting. We found on the internet Dave Graffam's website (http://www.davesgames.net/) that sells scenery printable on card stock  for fantasy or futuristic games that will make beautiful scenery for Mordheim. In addition they are really cheap so for € 10 and the paper I had left from my wedding invitations, we have the material to create a small town. However, as I have a lot of work this summer, I only could build one house, but once built, looks awesome:


lundi 3 août 2015

Tutoriel : Peinture tanks, MIG Brown Wash et Vallejo Pigments / Tutorial : Painting tanks, MIG Brown Wash and Vallejo Pigments

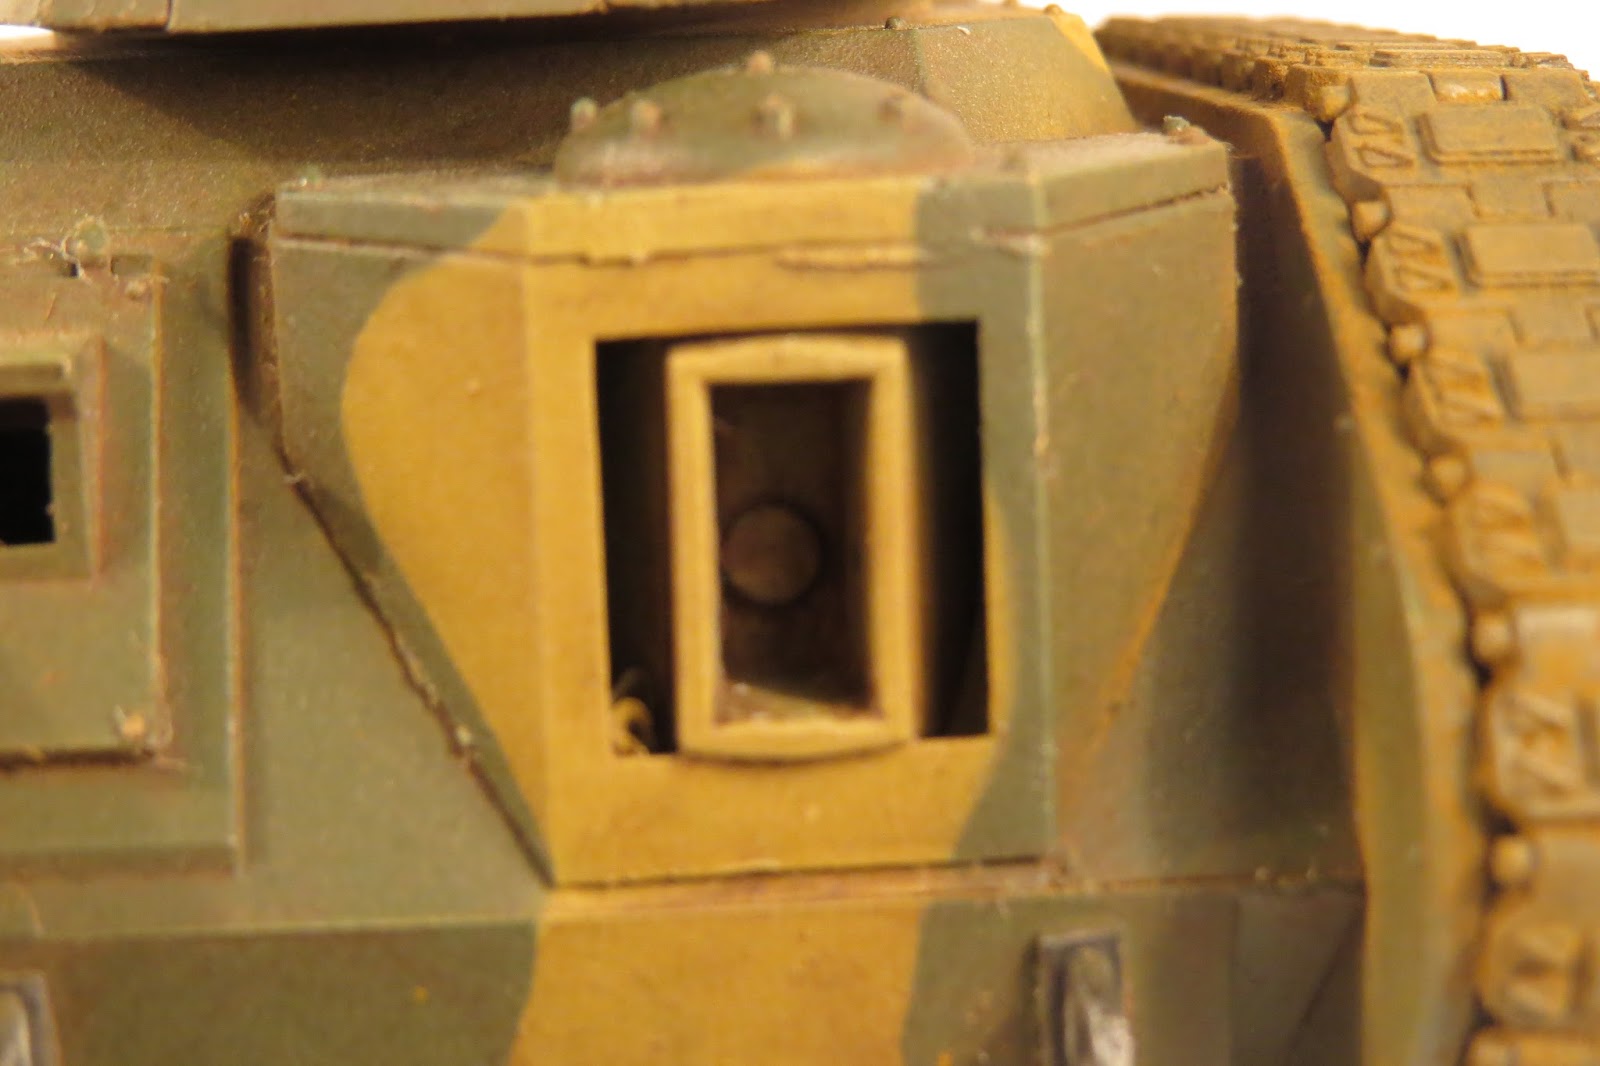
La peinture de mes Salamanders avançant bien (j'ai fini mes 10 terminators qui sont en attente d'une couche de vernis et de petites photos), j'en ai profité pour me renseigner sur la façon dont je vais peindre ma chimère et mon Leman Russ de Catachan. Pour ne pas m'entrainer sur mes figurines à 45€ pièce, j'ai préféré tester le camouflage que je veux obtenir sur un tank Sherman de la marque Flames of War, grâce à un tutoriel déniché sur internet :


L'échelle est plus petite que Warhammer 40k, ce qui a constitué un défi supplémentaire car les détails sont bien plus petits. J'ai trouvé un modèle de Sherman à 4,90€ sur EBay, et après avoir monté la miniature, j'ai décidé de m'attaquer à la peinture à l'aérographe.

As the paint job for my Salamanders army is progressing well (I finished my 10 terminators which are actually waiting for a coat of varnish and some pictures of them), I took the opportunity to learn about the way I'm going to paint my Catachan Chimera and Leman Russ. In order not to practice on my models that cost €45 a piece, I preferred to test the camo pattern I want to get on Flames of War Sherman tank , thank to a tutorial found on the Internet:


The scale is smaller than Warhammer 40k, which was an additional challenge because the details are much smaller. I found a Sherman tank model at €4.90 on EBay, and after assembling the miniature, I decided to airbrush it.

Une méthode simple :

- couche de base à l'aérographe de Zandri Dust, suivie d'un brossage à sec en Tallarn Sand sur l'ensemble du tank
- masquage avec de la plastiline pour réaliser le camouflage
- deuxième couche à l'aérographe sur le tank en Catachan Green et brossage à sec en Death Forest World en faisant attention à ne pas arracher la plastiline
- après avoir enlevé la plastiline, on peut peindre les détails : boltgun métal pour les chenilles et l'arme de tourelle, et brun pour les sacoches
- à ce stade, il convient de passer à l'aérographe (ou en bombe) une couche de vernis satiné pour les étapes suivantes
- pose des décalcomanies (achetés sur Amazon) et lavis en Badab Black sur les parties métalliques
- brossage à sec en Necron Compound sur les parties métalliques
- deuxième couche de vernis satiné. Le vernis satiné a l'avantage de permettre au lavis de se glisser dans les détails et de protéger les décalcomanies.

A simple method:

- Base coat of Zandri Dust with the airbrush, then a dry brushing of Tallarn Sand across the whole tank
- Mask with silly putty to make the camo pattern
- Second layer on the tank in Catachan Green, still with the airbrush, then dry brushing with Death World Forest while being careful not to remove the silly putty while doing so
- After removing the silly putty, you can paint the details: Boltgun metal for the threads and the gun on the turret, and light brown for the bags
- At this point, it's important to apply a layer of satin varnish with the airbrush (or a spray can) in order to do the next steps
- Apply decals (purchased at Amazon) and wash the metal parts with Badab Black 
- Dry brushing of Necron Compound on metal parts
- Second coat of satin varnish. The satin varnish has the advantage of allowing the wash to slip into the details and protect the decals.


Ensuite, vient l'étape du "salissage" du tank : en gros, simuler les épreuves du temps sur la coque et les chenilles. Pour ce faire, j'ai acheté une encre marron, de la marque Mig Productions, ainsi que les pigments de chez Vallejo (qui n'est autre chez la marque Prince August sous un autre nom).

La technique est plutôt simple :
- on applique un gros lavis avec l'encre marron, qu'on laisse sécher une vingtaine de minutes
- une fois sec, il suffit de passer un coton tige sur l'ensemble des parties surélevées afin de laisser l'encre dans les recoins (ne pas passer l'encre marron sur les chenilles et le canon)
- sur les chenilles, appliquer les pigments et les fixer avec un produit spécial, encore de chez Mig Productions : Pigment fixer.

Le résultat est plutôt probant et assez rapide. J'en suis tellement satisfait que je pense utiliser cette méthode pour peindre ma chimère et mon Leman Russ!

Then comes the stage called "weathering" of the tank: roughly simulate the test of time on the hull and the threads. To do this, I bought a brown wash, produced by Mig Productions and pigments from Vallejo (which is actually Prince August under a different name).

The technique is quite simple:
- The brown wash is applied on the whole tank : allow it to dry for about twenty minutes
- Once dry, just wipe all the raised portions with a q-tip to let the ink only in the recesses (do not apply brown wash on the threads and gun)
- On the threads, apply the pigments and secure with a special product, still from Mig Productions: Pigment fixer.

The result is rather convincing and quite fast. I am so pleased that I think use this method to paint my chimera and my Leman Russ!